Crypt of the Phantasm: Detailing
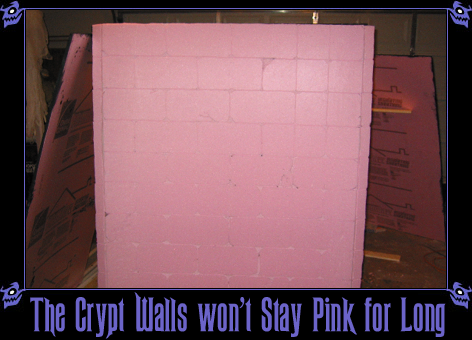
You should now have a wooden frame for your crypt, and pieces of pink styrofoam cut which can cover the frame and create the crypt walls. You can now start detailing the foam to look like stone.
Detailing the Crypt
The first thing you want to do is carve your foam to look more like stone. We used two approaches:
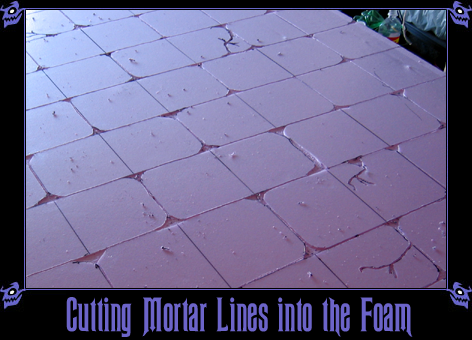
Dremel Mortar Lines
Using a Dremel tool with a router attachment, we were able to quickly
carve mortar lines into our crypt walls. As a guide, we gridded off our
crypt walls in six-inch squares, and then used the dremel to outline
the grid lines in offset pairs. Here and there, we'd add a crack or a
broken brick to suggest that the crypt is very old.
Xacto Stone Edges
Along the edges of the crypt, we used an Xacto knife to cut mortar
grooves that went around the corner, and to round off the sharp edges
to make it look like stone. Holding the Xacto knife at an angle and carving
out the foam allows you to create realistic-looking stone edges.
You could use either method, or both, to add the detail to your crypt. Just plan ahead, work slow, and pay attention, and you should be able to realize whatever ideas you have for the details of your crypt. Also, remember that the crypt doesn't have to be perfect - it's crumbling, after all. If you goof up, don't fret about it too much. (If you REALLY goof up, you can always glue some foam pieces back in place.)
Painting the Crypt
Once all the detailing is done, you can start painting your crypt.
It's a good idea to have the same small group of people paint the entire prop. This helps keep the painting quality and colors consistent - if you had a different person painting each wall, they could look like they came from different places.
Depending on where you are doing your painting, you might want to have a drop cloth, and think ahead about where you're going to lay down the paintings when they're wet and need to dry.
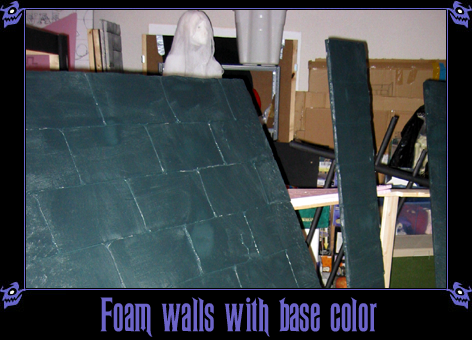
The Base Coat
The first order of business is put on the base color coat - black. Use the latex paint and/or spray paint and start painting everything black. Use the spray paint on the wooden frame to quickly cover the Only use latex paint on the foam bits - things like spray paint and some other non-latex paints will dissolve the foam. To speed things up, you can use flat black spray paint on the wooden frame.
At first, we only painted the parts of the wood we thought would be visible, but we had plenty of black paint, so we went ahead and painted the whole wooden frame, just to be sure.
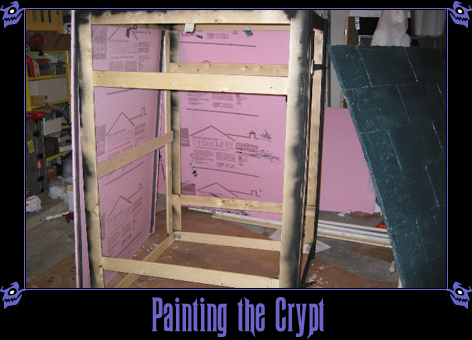
Also, remember to paint the backs of all the foam pieces, or else the inside of your crypt will be pink.
The Highlight Coat
When the base coat is dry, come back in with another brush, this time loaded up with the gray color. "Drybrushing" here works rather well. Basically, you want the paint on the brush to be nearly dry when you paint it on, because the paint will pick up the texture of the foam or wood, and won't completely cover the black.
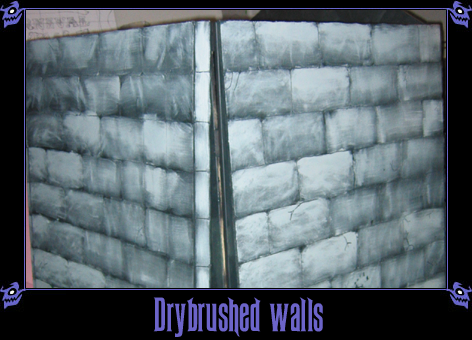
If you have never drybrushed before, try it out on some scrap foam first. Figure out the technique you're going to use for the whole crypt - you don't want half the crypt to be in one style and the other half in another style.
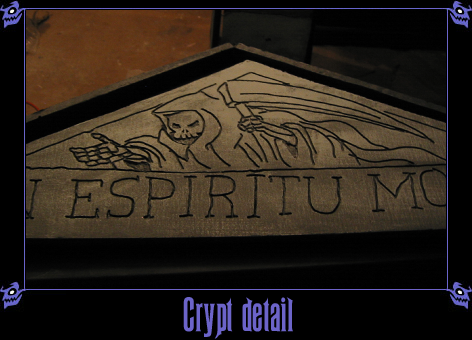
Below is an example of some drybrush work on one of the crypt's "detail panels":
Finishing Touches
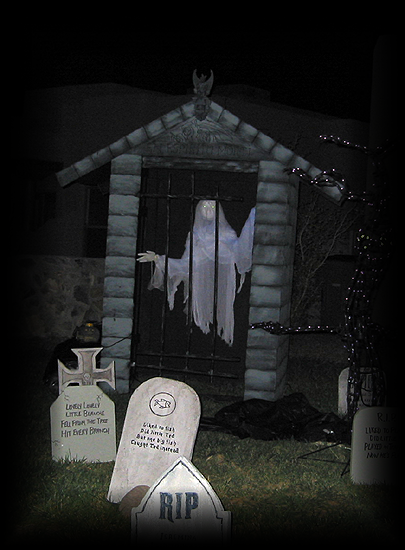
Once you have all the foam pieces painted, your crypt is pretty much done, but there are still some finishing touches that can be done.
First, there are a few pieces of wood (that should be painted black now) that are not covered by the foam pieces. These can be touched up to look like stone using the same technique that you used on the foam pieces. Basically, all you need to paint are the two horizontal supports on the front panel assembly and perhaps the gable supports that hang down on the sides. You'll also need to paint the gate and the hinges.
Second, you're going to want to mount a black light tube inside the crypt. We mounted ours against the horizontal frame support of the front assembly, so that it would be right over your head if you enter the crypt.
Third, you'll need a way to power the black light. You can mount a power strip on the left side of the front assembly. This can also power a fog machine or a CD player if you want your graveyard to have sound effects. (We used tracks from various Midnight Syndicate albums for our graveyard.)
Also, there are some other details you could add. For instance, you could cut two foam pieces to go between the gable supports at the end of the roof pieces to give the roof a more solid look.
A decoration at the top of the crypt really looked good. We had one of those cheap animated gargoyle door knockers which was broken and no longer worked. It served very well as some eye candy at the apex of the crypt frame.
Other embellishments could include some spider webbing, LED eyes in the skeleton in the panel detail, doors instead of a gate, a thunder and lightning machine, etc. Use your imagination!